Google Colab: What Is It?
Individual researchers who cannot afford expensive computational infrastructure now have access to data science, deep learning, neural networks, and machine learning thanks to Google Colab.
A Jupyter Notebook-like product from Google Research is called Colab. This notebook can be used by a Python programme developer to create and run random Python programmes using only a web browser.
On a nutshell, Colab is a Jupyter Notebook hosted in the cloud. You don’t need to install a runtime or upgrade your computer hardware in order to utilise Colab because Python does not require you to run CPU/GPU-intensive workloads. Additionally, Colab provides you with free access to computational resources such as memory, storage, processing power, graphics processing units (GPUs), and tensor processing units (TPUs).
The needs of Python newcomers as well as machine learning programmers, big data analysts, data scientists, and AI researchers were taken into consideration when Google created this cloud-based Python coding tool.
The best feature is the ability to present a full machine learning or data science project to programme supervisors or sponsors using just one code notebook. You can include executable code, live Python code, rich text, HTML, LaTeX, photos, data visualisations, charts, graphs, tables, and more in your Colab notebook, for instance.
What Purpose Serves Google Colab?
Jupyter Notebook is simply represented online by Google Colab. Colab is a complete cloud software for Python development, whereas Jupyter Notebook requires installation on a PC and can only use local machine resources.
Using Colab and your Mozilla Firefox or Google Chrome web browsers, you can develop Python code. These routines can also be run directly through the browser without a runtime environment or command line interface.
A professional appearance can be be added to your Python project notebook by including mathematical equations, graphs, tables, photos, and other graphics. Additionally, Python may be used to programme data visualisations, and Colab will produce a visual output from the code.
Additionally, you can reuse Jupyter Notebook files from GitHub using Colab. In addition, you can import appropriate data science and machine learning projects from other sources. Colab quickly transforms the supplied assets into tidy, error-free Python code.
My Favorite Google Colab Features
- Exchange of Notebooks:
Before Colab, there was no way to access a Python code notebook. For Colab files saved on your Google Drive, you may now create shareable links. Now, send the collaborator who wants to collaborate with you the link. Additionally, you can use Google Gmail to invite programmers to collaborate with you.
- Various Library Installation
AWS S3, GCP, SQL, MySQL, and other non-Colaboratory libraries that are not available in the Code snippets can be installed using Colab.
- Existing Libraries
You can import the necessary library from Code snippets using one of the many pre-installed libraries that Google Colab offers. NumPy, Pandas, Matplotlib, PyTorch, TensorFlow, Keras, and other machine learning libraries are examples of such libraries..
- Coding in collaboration
Incorporating co-coding into collaborative work is essential. Your team benefits from completing milestones earlier than anticipated. Google Collaborative is the perfect tool if your team wants real-time collaboration on ML and data science projects. One can also invite colleagues for group coding or offer them an editable link. As the team codes, the entire Python notebook instantly updates, giving you the impression that you are working on a set of shared Google Sheets or Documents.
- The TPU and GPU
For up to 12 hours, GPU and TPU runtimes are available to free Colab users without incurring any fees. With an Intel Xeon CPU running at 2.20 GHz, 13 GB of RAM, a Tesla K80 accelerator, and 12 GB of GDDR5 VRAM, it has a GPU runtime. The Intel Xeon CPU running at 2.30 GHz, 13 GB of RAM, and a cloud TPU with 180 teraflops of processing power make up the TPU runtime.
You can hire extra CPUs, TPUs, and GPUs with Colab Pro or Pro+ for periods longer than 12 hours.
- Online Storage
Your Google Drive storage allotment is used by Google Colab to save files. As a result, you can continue working from any computer that has access to your Google Drive account.
Additionally, cloud storage serves as a disaster recovery plan for your data.
- Integration with GitHub
You may easily import and export code files by connecting your GitHub account to Google Colab. To retrieve code files for import, press Ctrl+O and select the GitHub tab. Instead, to upload files to GitHub, merely select Save a copy to GitHub from the File menu.
- Various Data Sources
Your ML and AI training projects can use a variety of data sources supported by Google Colaboratory. For instance, you can fetch distant data, mount Google Drive to a Colab server, clone a GitHub repository into Colab, and import data from a local system.
- Controlling Code Versions Automatically
The extensive history tracker in Google Colab is similar to that in Google Sheets and Docs. Since the file’s creation, the module has kept track of every update. By selecting Revision History from the File menu, you can access the logs.
- File Uploading and Downloading
Local Python code can be uploaded to Google Colab.
- Obtaining Kaggle Datasets
Kaggle offers a sizable dataset that you can use for your project.
What is Stable Diffusion?
A text-to-image model using deep learning called Stable Diffusion was released in 2022. Although it can be used for various tasks including inpainting, outpainting, and creating image-to-image translations directed by text prompts, its primary usage is to generate detailed visuals conditioned on text descriptions.
This was a change from prior proprietary text-to-image models such as DALL-E and Midjourney which were accessible exclusively via cloud services, and Stable Diffusion can run on most consumer systems supplied with a modest GPU with at least 8 GB VRAM.
What are limitations of Stable Diffusion?
- The quality of generated photographs visibly declines when user parameters differ from the “anticipated” since the model’s initial releases were trained on a dataset of 512×512 resolution images.
- Due to the dearth of representative characteristics in the database, the model is inadequately trained to comprehend human limbs and faces, and asking it to generate images of this kind can confuse it.
- New data and additional training are needed in order to adapt the model to new use cases that are not covered by the dataset, such as creating anime characters (“waifu diffusion”).
- The creators stress that the model lacks data from different tribes and cultures, therefore the generated visuals reinforce social biases and are from a western perspective.
Accessing Stable Diffusion Using Google Colab
One of the best AI picture generators available is stable diffusion. Today, we’ll look at how to use Google Colab to access Stable Diffusion and create images from text. Let’s get started!
A minimum of 6GB of VRAM (GPU) is needed to run Stable Diffusion on your computer and achieve respectable results. The majority of us don’t have that much VRAM on our PCs, which is why Google Colab is useful.
You can access a computing environment with enough capacity to run Stable Diffusion through Google Colab, a cloud-based development environment. The catch is that Stable Diffusion requires Colab Pro because the free version’s VRAM is just a little bit insufficient for sampling.
- Step-1: Access Colab
Login to this Google Colab Notebook.
- Step-2: Ensure You’re Using GPU
We’ll need to confirm that our Google Colab is using a GPU in order to execute Stable Diffusion. To do this, select Runtime -> Change Runtime Type from the menu.
You can see A small window with a dropdown under Hardware accelerator. Select GPU there. Then Click save.
- Step-3: Setup Stable Difussion and generate images
- On left of setup button click down arrow icon to get rid off all codes.
- To run the code hit the play button
- It may take few moments to process
When that’s executed you can proceed to create images.
You may now, at your discretion, employ one of the below contributions made by other researchers or developers:
Five Google Colab Notebooks to understand and use stable diffusion are listed below:
- Prompt Parrot
This is made to render graphics and train language models using prompts and custom prompts. The model is a refined GPT-2.
In order to integrate with Stable Diffusion for image production, the model was recently modified to V2.5. Additionally, it has a simplified training UX and 185 pre-programmed signature Kyrick prompts that enable it to be used right out of the box.
Prompt Parrot notebook Link – https://colab.research.google.com/drive/1GtyVgVCwnDfRvfsHbeU0AlG-SgQn1p8e?usp=sharing
- Stable Diffusion Interpolation
With this notebook, it is now possible to effortlessly interpolate between two separate Stable Diffusion questions. After the new V2.2 upgrade, the combined photos can also be converted into a video. The previously mentioned blurring problem is now fixed, and the new update also enables multiple seeds.
Journal link – https://colab.research.google.com/drive/1EHZtFjQoRr-bns1It5mTcOVyZzZD9bBc?usp=sharing
- Stable-DreamFusion
This notebook uses Google’s DreamFusion and Stable Diffusion to generate 3D models from straightforward text commands.
NeRF is used by Google’s DreamFusion to transform 2D visuals produced by text-prompts on Stable Diffusion into 3D models.
Notebook link – https://colab.research.google.com/drive/1MXT3yfOFvO0ooKEfiUUvTKwUkrrlCHpF?usp=sharing
- Stable Diffusion DreamBooth Inference
This notebook goes into detail about using Google’s Dreambooth to teach new Stable Diffusion ideas. Models can be inputted and customised by developers using a series of 3-5 photos.
Notebook Link – https://colab.research.google.com/github/huggingface/notebooks/blob/main/diffusers/sd_dreambooth_training.ipynb
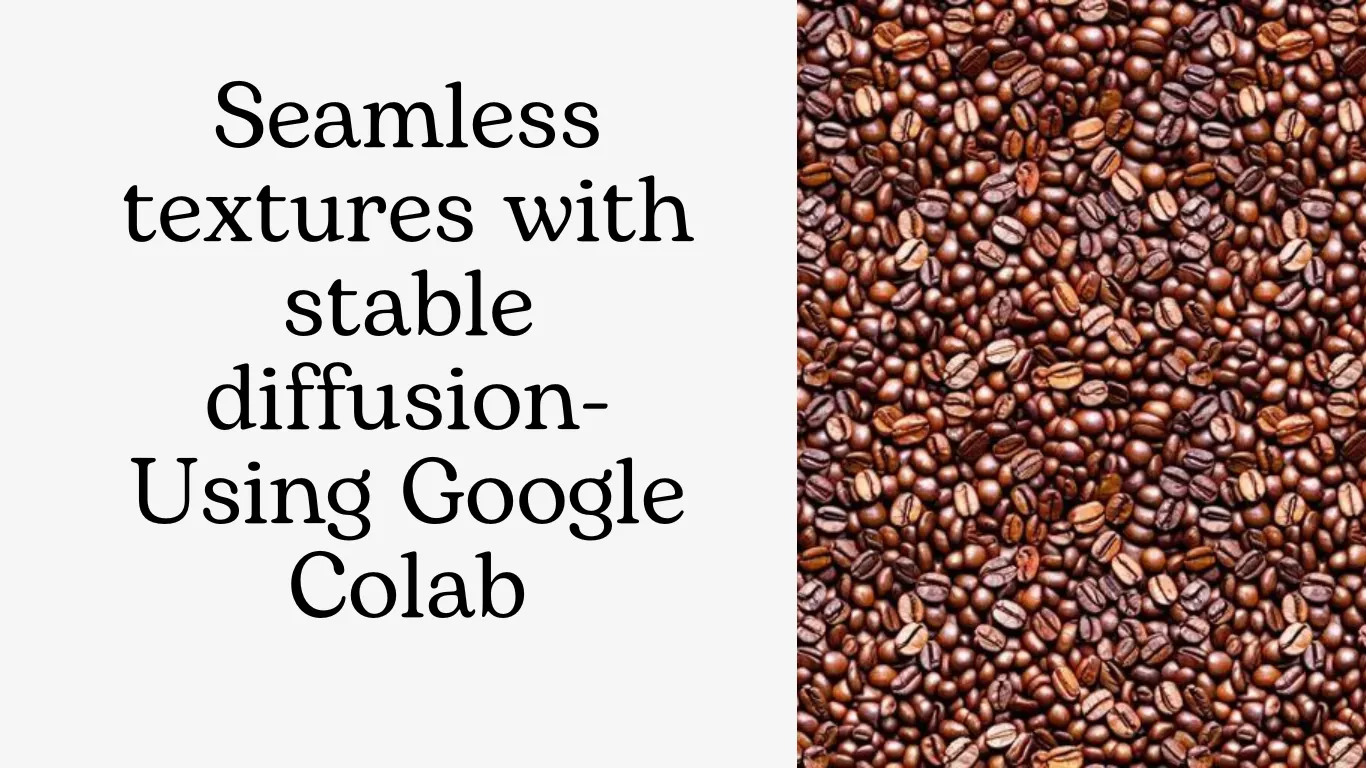
- Seamless Texture Inpainting
MetaSemantic developed an inpainting tool to create seamless textures that don’t appear to have been duplicated at all using Stable Diffusion.
Although this technology creates images using tiles, users have tried using it to create symmetrical and abstract images.
This fascinating computer graphics program’s Colab notebook.
https://colab.research.google.com/drive/14gt9Z1wqQRS8jVfzJA1K9_PAYlXUAFrR?usp=sharing
Conclusion:
This method should have helped you create your first image on Google Colab using Stable Diffusion from Hugging Face. From here, you can peruse the Google Colab notebook’s other instructions. I would be delighted to hear from you if you have any inquiries, remarks, or recommendations. Visit https://teqhunt.com/contact/ to reach me.